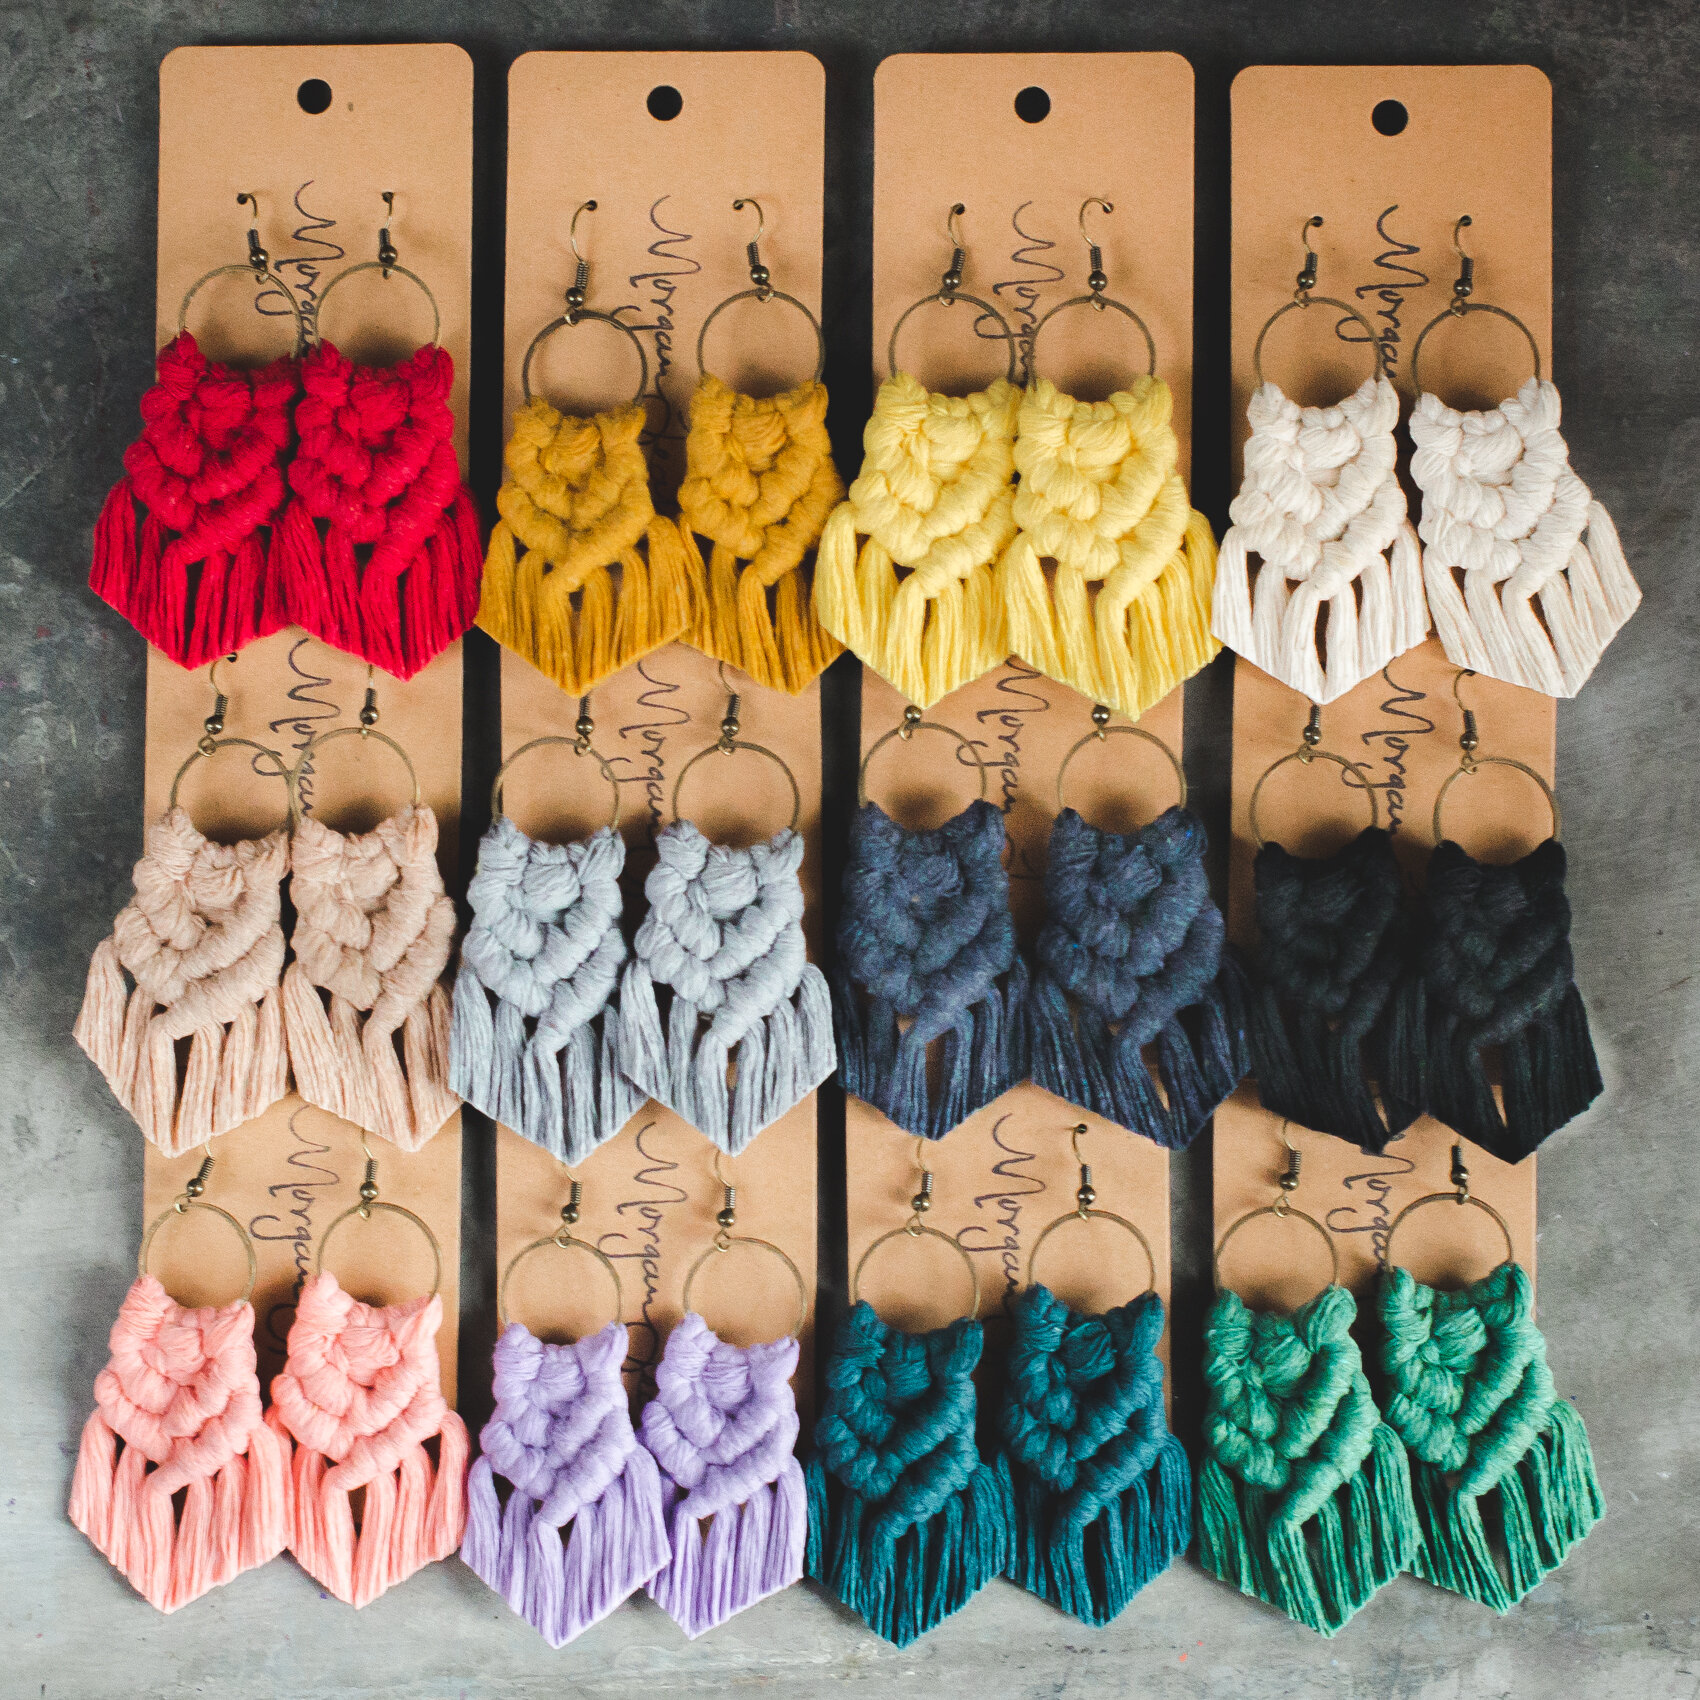
DIY Macrame earrings tutorial page
Supplies you will need (I have included links to my favorite 3rd party vendors!):
10 feet of 3mm cotton cord cut into (6) 20-inch pieces
2 earring base hoops
3 pins
1 tbsp of white dry-clear craft glue
Fine-tooth comb
Macrame board OR cardboard box
Tape
Scissors
Helpful tips for the dip/comb process:
1. You can use an old towel for combing the earrings on, or a hard surface like a countertop that will be easy to clean.
2. If you don’t have the exact type of glue and wonder if another kind could work, use an extra strand (you will need 3 per earring) to “test” your mixture and see if you like the final texture/color.
3. If you have more than one kit and a range of colors, mix up separate glue mixtures so the bright colors don’t bleed onto the light colors.
4. Depending on the color cord, the glue mixture may cause a slight color change. If this bothers you and you would like to dip the entire earring into the mixture, please do! It won’t hurt the earring, but will take longer to dry completely.
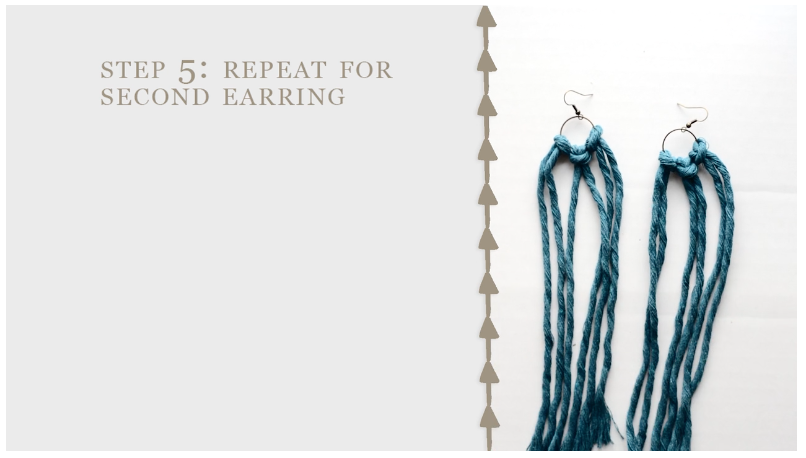
Here is the video tutorial, or step by step images are below if that is more helpful for you!
Need extra help with steps 8 through 11? Here is an extra video focusing on the half hitch knot.


